Archive | Food & Drink RSS feed for this section

Ripening Green Tomatoes

If you have green tomatoes left over in your garden, here is a great tip on how to ripen them and turn them red. Pick the green tomatoes and place them inside a paper bag along with a ripe banana. Apparently the ripe banana gives off a gas that helps ripen the green tomatoes naturally.

Here is a photo of a few tomatoes that I placed inside the bag that were very green. After just 5 days with the ripe banana they have ripened up nicely.

Instructions:
Place green tomatoes for ripening inside a paper bag. I used a small lunch sack and then added a ripe banana. Close the bag and check it in a few days. If the tomatoes aren’t ripe yet, close the bag and check it again in a few more days. Tomatoes should be fully ripened within 7 days.

0

Baking Potatoes in a Woodstove

I want to share my experience of using a woodstove to bake potatoes. We use a woodstove to heat our home and I wondered about using the woodstove for baking potatoes. It’s already hot and has room inside for baking so why start up the oven for baking potatoes when I could use the woodstove. So I set out to try out my idea, first you want a hot woodstove that has burned down a bit and has hot ashes that you can use as a bed for baking the potatoes.

Next double wrap the potatoes in foil. Move the fire over to one side of the stove as you want to place the potatoes in hot coals and ash but not directly against any burning wood.

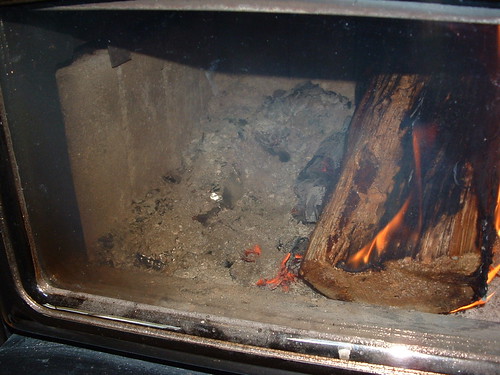
Here is a photo showing my two potatoes wrapped in foil and placed inside the woodstove. As you can see, the potatoes are on the ash bed with the burning wood moved over to the side.
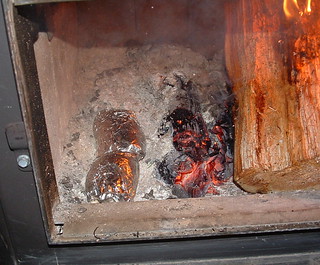
After placing the potatoes inside the woodstove, cover up the potatoes with some hot ashes on the side of the firebox as shown in the picture below. I use my small stove shovel to scoop some ashes cover the potatoes to help them bake evenly.
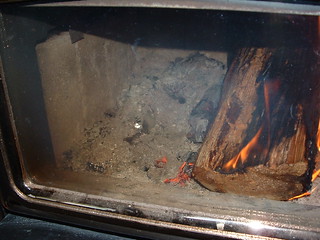
In about 20 minutes, turn potatoes over and cover again with ashes. My large bakers were done after about 45 minutes in the woodstove. Using a potholder, squeeze the taters to make sure they are done and then remove them carefully using a thick potholder or heavy leather gloves as the potatoes are very hot.

The results are some wonderful baked potatoes that are very tasty. This useful idea produces great tasting baked potatoes but also is very useful should you have a power outage. Plus it saves energy by reducing the use of a traditional oven for baking.

6

Growing Celery Indoors Update

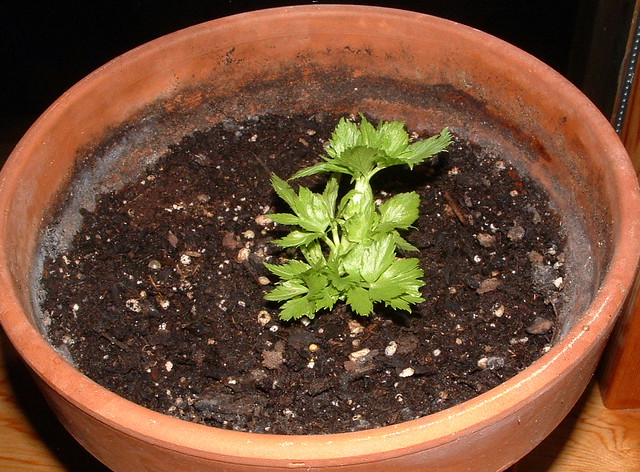
Here is my indoor celery growing experiment after 20 days. I originally posted about how to start a celery stalk to grow celery indoors in this post.

I just wanted to share my celery’s progress after 20 days. As you can see there are more leaves and little stalks are beginning to grow from the base of the celery start.

I am excited about the growth of my celery start and hope the plant continues to thrive. I will post more progress in the future.

0

Growing Indoor Celery

I love celery and always wondered about growing my own when I spotted this great idea about growing your own celery from a stalk end. So here is what I call my useful idea that you can eat.

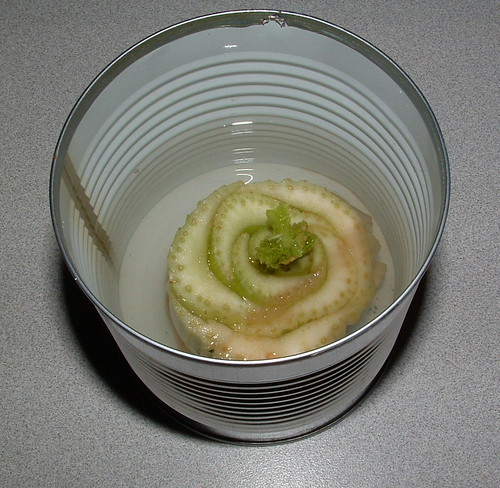
First you just need the end of the stalk that you usually discard after cutting the celery stalks off which leaves the end base of the celery plant. You place the end in a can or dish with a few inches of water. Here is my can with the celery start in it. This photo was taken after one week in the water. As you can see the center has new growth and little green leaf starts are emerging.

For the full details on the experiment that 17 Apart did you can read their blog post here.

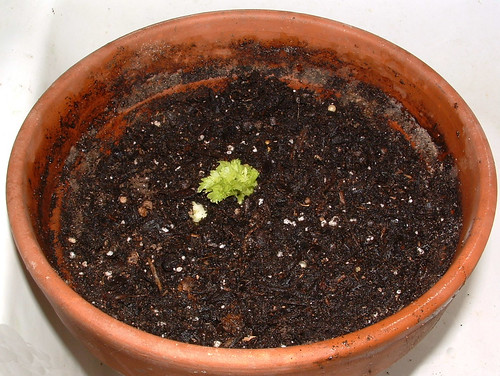
I just transplanted it into dirt at day 10. Re-plant the celery start in a pot of dirt. Cover up to the new leaf growth and water well. Here is the latest progress of my indoor celery start after re-potting the celery start today.

I will post more pictures of my celery growing experiment as my plant begins to grow. So check back in for an update on my celery growing in the coming weeks and months.

1

Testing Yeast if Active


I made some pizza dough the other day and it just didn’t rise. That got me wondering if my yeast was still active as the dough just didn’t rise at all. There are several methods for testing or proofing yeast to see if it’s still active. I used the process that eHow outlined to test my yeast.

I bought this yeast bulk and still have a large jar of it. So I followed the following steps to test it for its potency:

  • 1/2 cup of warm water in a measuring cup. Check the temperature to make sure it’s about 110-115F.
  • Stir in 1 teaspoon of sugar and add 2 teaspoons of yeast or packet.
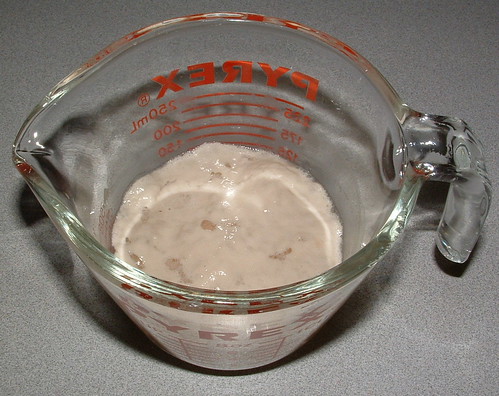
  • Let it sit for 10 minutes. If foam and bubbles form, your yeast is still active. As you can see my yeast didn’t have much activity at 10 minutes but after 20 minutes this was my results.


    Bottom line — I think my yeast is just okay but will proof it again before using it in a recipe. I hope you find this tip useful and use it next time you want to proof your yeast.

    2

    Mountain House Sale

    It is the last week for the 20-25% off sale of Mountain House canned foods at Emergency Essentials. Storing of dehydrated and freeze-dried foods such as Mountain House is an outstanding way to prep and have foods on hand should you not be able to go to the store and buy it.

    These cans are ideal for use in home storage or emergency preparedness. Did you know that they can have a shelf life of up to 25 years? So why not buy some today while they are still on sale and put up a few extra items in your long-term home food pantry. Remember you never know when you may be faced with a situation where you will have to rely on your pantry to feed you and your family. It’s always wise to be prepared.

    0