Search

Baking Potatoes in a Woodstove

I want to share my experience of using a woodstove to bake potatoes. We use a woodstove to heat our home and I wondered about using the woodstove for baking potatoes. It’s already hot and has room inside for baking so why start up the oven for baking potatoes when I could use the woodstove. So I set out to try out my idea, first you want a hot woodstove that has burned down a bit and has hot ashes that you can use as a bed for baking the potatoes.

Next double wrap the potatoes in foil. Move the fire over to one side of the stove as you want to place the potatoes in hot coals and ash but not directly against any burning wood.

Here is a photo showing my two potatoes wrapped in foil and placed inside the woodstove. As you can see, the potatoes are on the ash bed with the burning wood moved over to the side.

After placing the potatoes inside the woodstove, cover up the potatoes with some hot ashes on the side of the firebox as shown in the picture below. I use my small stove shovel to scoop some ashes cover the potatoes to help them bake evenly.
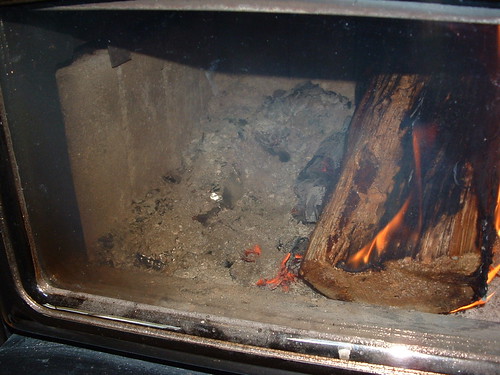
In about 20 minutes, turn potatoes over and cover again with ashes. My large bakers were done after about 45 minutes in the woodstove. Using a potholder, squeeze the taters to make sure they are done and then remove them carefully using a thick potholder or heavy leather gloves as the potatoes are very hot.

The results are some wonderful baked potatoes that are very tasty. This useful idea produces great tasting baked potatoes but also is very useful should you have a power outage. Plus it saves energy by reducing the use of a traditional oven for baking.
6

Growing Celery Indoors Update

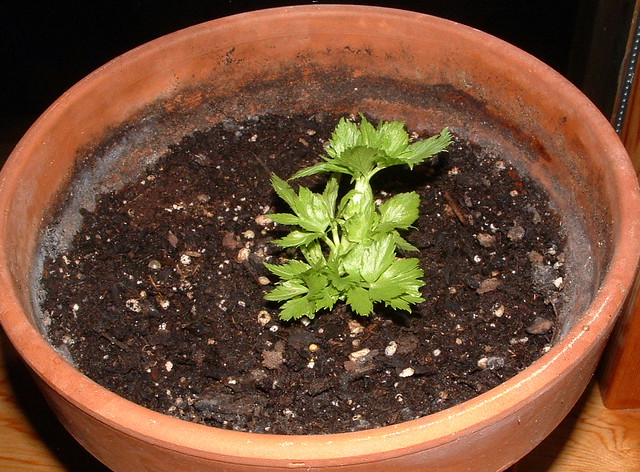
Here is my indoor celery growing experiment after 20 days. I originally posted about how to start a celery stalk to grow celery indoors in this post.

I just wanted to share my celery’s progress after 20 days. As you can see there are more leaves and little stalks are beginning to grow from the base of the celery start.

I am excited about the growth of my celery start and hope the plant continues to thrive. I will post more progress in the future.

0

Growing Indoor Celery

I love celery and always wondered about growing my own when I spotted this great idea about growing your own celery from a stalk end. So here is what I call my useful idea that you can eat.

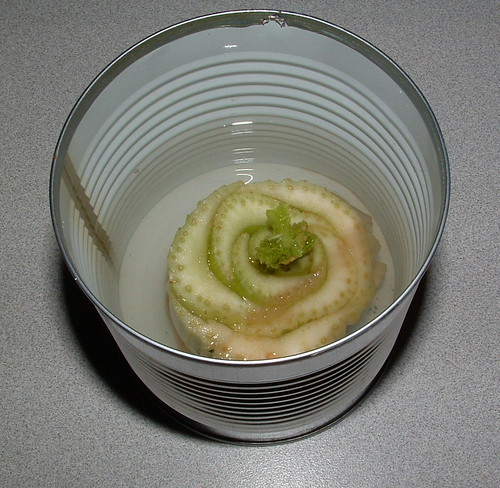
First you just need the end of the stalk that you usually discard after cutting the celery stalks off which leaves the end base of the celery plant. You place the end in a can or dish with a few inches of water. Here is my can with the celery start in it. This photo was taken after one week in the water. As you can see the center has new growth and little green leaf starts are emerging.

For the full details on the experiment that 17 Apart did you can read their blog post here.

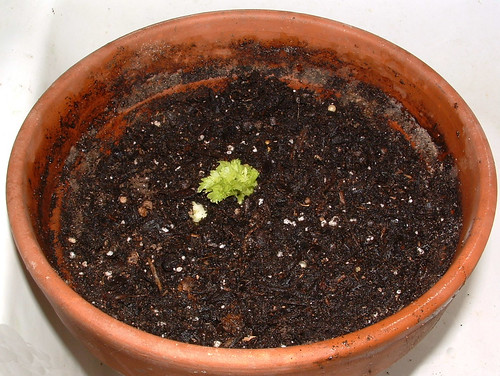
I just transplanted it into dirt at day 10. Re-plant the celery start in a pot of dirt. Cover up to the new leaf growth and water well. Here is the latest progress of my indoor celery start after re-potting the celery start today.

I will post more pictures of my celery growing experiment as my plant begins to grow. So check back in for an update on my celery growing in the coming weeks and months.

1

Recycled Milk Jug Shovel

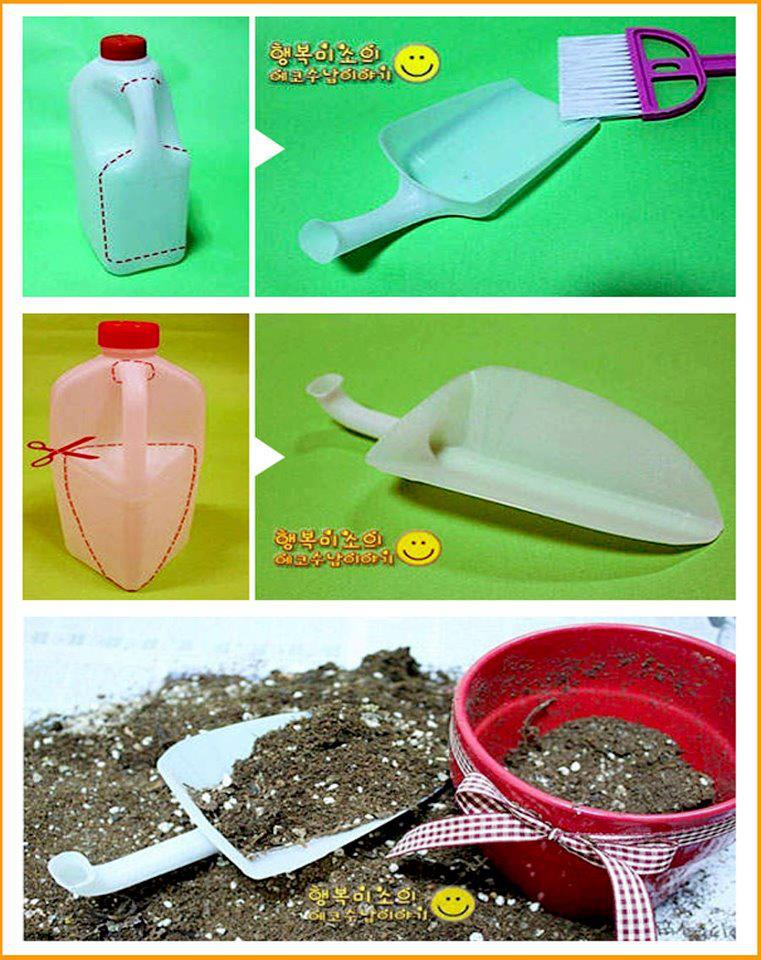
Check out this cool idea for recycling a milk jug into a shovel. The plastic shovel would make a great play shovel for kids at the beach or in the garden. You could also use the shovel for scooping flour, sugar, or other bulk ingredients in the kitchen.

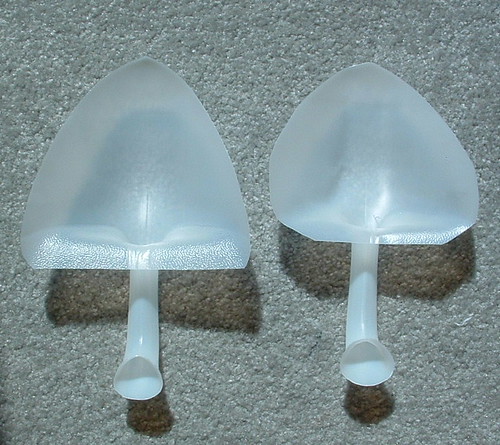
Here are my shovels I made using a one gallon milk jug. The key is to cut with very sharp scissors and make your cuts wide so you can trim the shovel shape evenly on both sides.

Source:
Korean Crafts Blog

0

Toothpaste Tube Recycled into a Funnel

Ever need a small funnel to fill a salt or pepper shaker? Don’t you just hate it when you try and fill those small containers and half your ingredients end up not going into the shaker? Well here is a useful idea for recycling a toothpaste tube into a funnel.

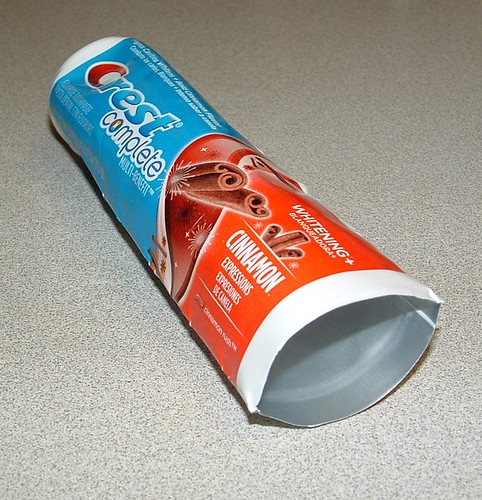
Take any regular toothpaste tube and rinse out any remaining bits of toothpaste. I rinse my tubes out in hot water and leave it to soak upright in the sink. Then you want to cut off the end just above the end seam of the tube with a sharp pair of scissors. Rinse the tube out again and let it air dry. If it has a lingering toothpaste smell, you can rinse it out again with some white vinegar to help get rid of the toothpaste odor but it really doesn’t hurt anything if it still smells of toothpaste a bit.

Once dry, you can now use your recycled toothpaste tube for a small funnel to fill salt, pepper, or other small-mouthed containers. The small screw end of the toothpaste tube fits nicely inside salt or pepper shakers making for a easy fill now for your kitchen cooking needs.

1

Homemade Manly Soap

My husband loves to work on trucks, cars, tractors, and other greasy things. I have been making our own soaps but he needed something more stronger and thus I created what I call manly soap. I used a Lava soap bar to make this homemade recipe. Lava soap contains pumice which is the important ingredient in this soap that can really cut the grease on your hands.

For those who have been making your own soap, this is just a little more aggressive soap to fight the grease and grim on your hands when you have been working on vehicles and farm equipment.

The ingredients:
1/2 cup grated Lava soap bar
1 cup boiling water
1 tsp honey
1 tsp glycerin

Continue Reading →

3